Laying Your Own Resin Bound Driveway: A DIY Guide
DIY Resin Bound Driveway: A Step-by-Step Guide to Laying Your Own Resin Driveway
Permeable paving is all the rage these days. Resin bound driveways are a fantastic option for homeowners looking for a durable, low-maintenance and eco-friendly way to pave their driveway.
This guide covers the basics of how to lay a resin bound driveway yourself.
Before we jump in, we need to clarify an important question:
Basically, Resin Bonded is something you put on top of an existing surface, and Resin Bound is a smooth and permeable surface. We’re going to talk about the latter!

Read article
Here are some benefits of permeable paving:
You can read more about the benefits of Permeable Paving here.
So why pay someone else to lay it when you can do it yourself? Well, to save time, effort and back ache, we suppose…
For some of us, the joy of doing it yourself is too much to resist… This guide is for those people who want to get stuck in to some resin drive DIY!
Next, we'll share with you the main steps involved in laying down your own resin bound driveway, and some tips on how to make the process as smooth as possible (see what we did there?). Pick youself up a DIY kit, and let’s get to work.
Here is a list of materials and tools you'll need:
Make sure you have all the materials and tools before you start!

Read article
Then, add a sub-base of crushed stone and compact it. Level it with a spirit level and smooth it out with a rake. This may sound like a lot of work, but trust us, it's worth it.
Here’s a checklist to make sure you don’t skip anything
This is the fun part, but don't get too carried away and forget to follow the manufacturer's instructions.
Here are some tips to follow when mixing, pouring and rolling:
Read article
It may take 24 hours for the resin to fully cure and harden. Even though it’s important not let the resin harden, make sure to take your time to make sure the surface is smooth and even.
Some reminders on finishing the surface:

Laying your own resin bound driveway is a brilliant way to create a durable, low-maintenance and eco-friendly surface. It may seem daunting at first, but with the right tools and a little bit of know-how, you can create a beautiful and functional driveway that you'll be proud of. Just remember to take your time, follow the manufacturer's instructions, and have fun! All that said, there’s no shame in hiring an experienced specialist to do it for you 🙂
Once your driveway is looking fancy & new, why not rent it out for extra income on the UK’s largest storage and parking marketplace? Find out more about becoming a Stashbee Host, and how much your could be making here.
This guide covers the basics of how to lay a resin bound driveway yourself.
Before we jump in, we need to clarify an important question:
Rent My Parking Space
Join thousands of Stashbee Hosts, start earning now
Rent My Parking Space1. Resin Bonded vs Resin Bound - what’s the difference?
Resin Bonded and Resin Bound are two types of resin driveway surfacing that are often used for driveways and other outdoor surfaces. They are spelt almost identically, so it’s easy to get confused, but they have some key differences.Resin Bonded:
- Resin Bonded surfacing is made by spreading a layer of resin over an existing surface and then scattering a layer of aggregate (such as gravel or stone) over the top.
- The aggregate is then lightly tamped down into the resin to create a textured surface.
- Resin Bonded surfaces are ideal for areas that don't need to be permeable, and are often used on walkways, patios, and other areas that don't see heavy traffic.
Resin Bound:
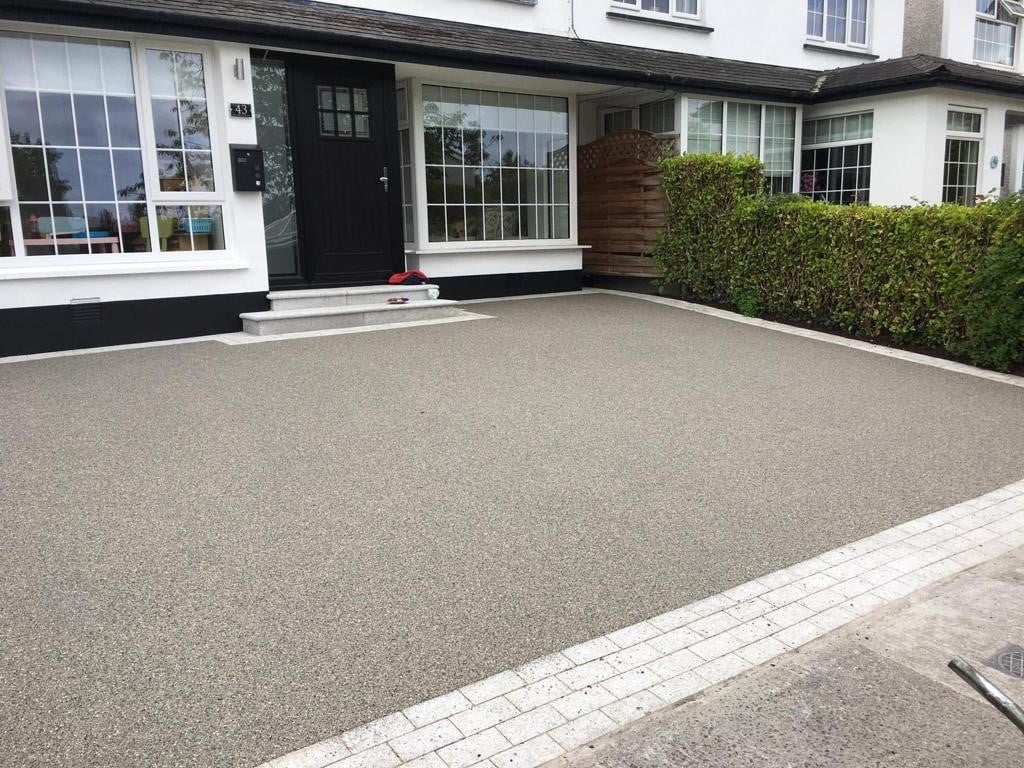
- Resin Bound surfacing is made by mixing a combination of aggregate and resin together to create a smooth, seamless surface.
- The mixture is spread on top of the existing surface and levelled to make a new long-lasting surface.
- Resin Bound surfaces are perfect for areas that need to be permeable, like driveways, paths, and anywhere that gets heavy traffic.
Basically, Resin Bonded is something you put on top of an existing surface, and Resin Bound is a smooth and permeable surface. We’re going to talk about the latter!
Related
How Can I Rent My Driveway With Stashbee?
2. The Power of Permeable Paving
Not only does Permeable Paving look great, but it’s designed to allow water to pass through the surface and prevent flooding, by allowing water to seep through and recharge groundwater.Here are some benefits of permeable paving:
- It reduces the risk of flooding by allowing water to seep through the surface, unlike tarmac or concrete.
- It's better for the environment, because it produces less runoff and improves air quality.
- It's low maintenance and doesn't require regular cleaning or sealers.
- It's durable and long-lasting, and is even UV resistant! It can last for decades with minimal upkeep.
You can read more about the benefits of Permeable Paving here.
So why pay someone else to lay it when you can do it yourself? Well, to save time, effort and back ache, we suppose…
For some of us, the joy of doing it yourself is too much to resist… This guide is for those people who want to get stuck in to some resin drive DIY!
Next, we'll share with you the main steps involved in laying down your own resin bound driveway, and some tips on how to make the process as smooth as possible (see what we did there?). Pick youself up a DIY kit, and let’s get to work.
3. Gather Your Tools
Before you begin, you'll need to gather all the right materials and tools. You can find most of these materials and tools at your local home improvement store or online. For example, you can find resin bound aggregate on websites like this.Here is a list of materials and tools you'll need:
- Resin bound gravel (or 'aggregate')
- Hardening agent
- Mixing paddle
- Trowel
- Mixing bucket
- Concrete mixer (if you don't own one, you can rent one from places like Jewson and HSS)
- Spirit level
- Roller / compactor
- Safety equipment such as safety glasses, gloves, ear protection and a dust mask
Make sure you have all the materials and tools before you start!
Related
Parking Bollard Installation - A Stashbee guide
4. Preparing the Base
The next step is to prepare the base. This means getting rid of any existing driveway surface and leveling the ground. This might require renting a jack-hammer. Make sure to wear ear protection.Then, add a sub-base of crushed stone and compact it. Level it with a spirit level and smooth it out with a rake. This may sound like a lot of work, but trust us, it's worth it.
Here’s a checklist to make sure you don’t skip anything
- Clear and remove any existing driveway surface using a shovel or a jackhammer.
- Level the ground using a rake or a hoe.
- Add a sub-base of crushed stone and compact it using a compactor.
- Make sure the surface is actually flat using a spirit level and adjust if necessary.
- Smooth out the surface using a rake.
5. Mix, Pour, and Roll
Now it's time to mix the resin, then pour and roll it. Start by mixing the aggregate and hardening agent in a mixing bucket according to the manufacturer's instructions. Then pour it onto the prepared area, spread it out with a trowel, and use a roller to compact it and level it. Repeat until the entire area is covered.This is the fun part, but don't get too carried away and forget to follow the manufacturer's instructions.
Here are some tips to follow when mixing, pouring and rolling:
- Follow the manufacturer's instructions when mixing the aggregate and hardening agent.
- Pour the mixture onto the prepared area and spread it out using a trowel.
- Use a roller to compact the surface and ensure it is level.
- Repeat the process until the entire area is covered.
Related
Garage Floor Epoxy - What You Need To Know Before Going DIY
6. Finishing Touches
Your DIY resin driveway is nearly finished. Now it’s time to use a trowel to smooth out any rough spots and create a consistent finish. Be quick, as the resin will start to harden quickly.It may take 24 hours for the resin to fully cure and harden. Even though it’s important not let the resin harden, make sure to take your time to make sure the surface is smooth and even.
Some reminders on finishing the surface:
- Use a trowel to smooth out any rough spots and create a consistent finish.
- Work quickly, as the resin will start to harden quickly.
- Allow 24 hours for the resin to fully cure and harden.
7. Tricks of the Trade
Here’s a couple of extra pointers that will probably save you extra hassle:- Work on a dry and warm day, as rain or cold temperatures can affect the curing process.
- Wear gloves and safety glasses to protect your skin and eyes from the resin.
- Protect any surrounding areas and plants from the resin.
- Use a spirit level and a straight edge to ensure a smooth and level surface.
- Take your time and work carefully to get the best results!
Laying your own resin bound driveway is a brilliant way to create a durable, low-maintenance and eco-friendly surface. It may seem daunting at first, but with the right tools and a little bit of know-how, you can create a beautiful and functional driveway that you'll be proud of. Just remember to take your time, follow the manufacturer's instructions, and have fun! All that said, there’s no shame in hiring an experienced specialist to do it for you 🙂
Once your driveway is looking fancy & new, why not rent it out for extra income on the UK’s largest storage and parking marketplace? Find out more about becoming a Stashbee Host, and how much your could be making here.
Rent my Parking Space
Join thousands of Stashbee Hosts, start earning now
Rent my Parking SpaceAnthony
Written 14th Apr 2023